Bitcoin Back Channel

Category: Monster Hunter Wilds

How to Capture Yian Kut-Ku in Monster Hunter Wilds

March 13, 2025March 13, 2025 Olivia Craig

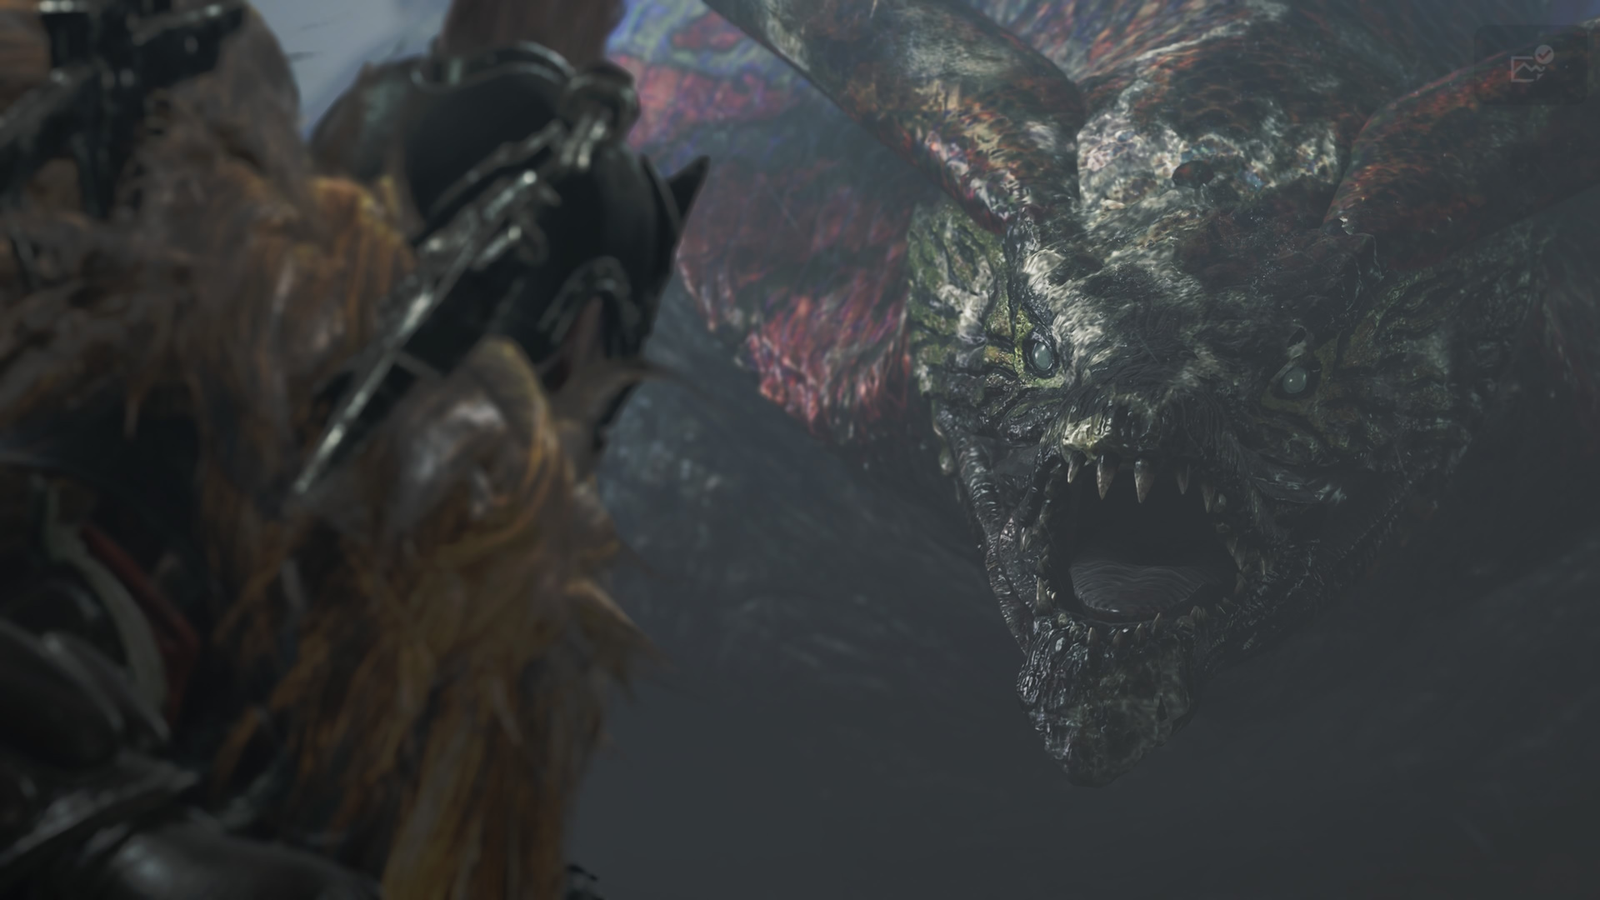
In the expansive universe of Monster Hunter Wilds, the Yian Kut-Ku stands out as a distinctive Bird Wyvern, recognized for its vibrant plumage and aggressive demeanor. Capturing this creature requires meticulous preparation, strategic combat, and an understanding of its unique behaviors.
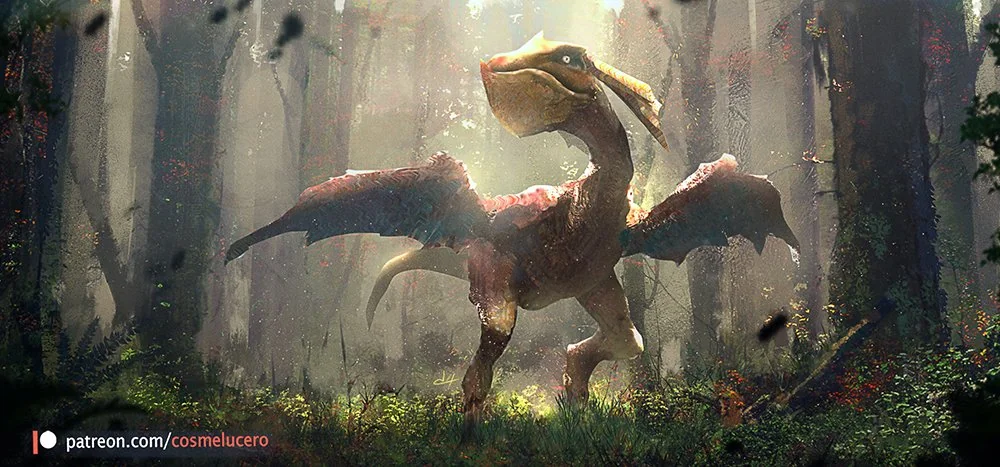
Credits – Nerdlog

The Yian Kut-Ku is characterized by its large, fan-like ears that flare when threatened and a robust beak capable of swift pecking attacks. As a Fire-type monster, it can unleash fireballs, posing significant challenges to unprepared hunters. Typically, Yian Kut-Ku inhabits regions like the Scarlet Forest and Iceshard Cliffs, making these areas prime hunting grounds.

Preparation: Gearing Up for the Hunt

Before embarking on a quest to capture the Yian Kut-Ku, it’s essential to equip yourself appropriately:

  • Weapon Choice: Given its vulnerability to Water, weapons imbued with Water elemental attacks are highly effective. If unavailable, Ice and Thunder elements serve as suitable alternatives.
  • Armor Selection: Equip armor that offers resistance to fire-based attacks to mitigate potential damage from its fireballs.
  • Essential Items:
    • Traps: Carry at least one Shock Trap or Pitfall Trap. These are crucial for immobilizing the monster during the capture process.
    • Tranq Bombs: A minimum of two Tranq Bombs is necessary to sedate the Yian Kut-Ku once trapped.
    • Healing Supplies: Stock up on Mega Potions and Energy Drinks to maintain health and stamina during the hunt.
    • Status Ailment Remedies: Nulberries can counteract Fireblight if you’re hit by its fire-based attacks.

Locating Yian Kut-Ku

Yian Kut-Ku predominantly roams the Scarlet Forest and Iceshard Cliffs regions. During the “New Ecosystems” main quest, hunters are introduced to this creature as part of the storyline. It’s advisable to consult with in-game characters, such as Alma, who provide insights into its whereabouts.

Engaging the Beast: Combat Strategies

Approaching Yian Kut-Ku requires a balance of offense and defense:

  • Attack Patterns: The Yian Kut-Ku exhibits several attacks:
    • Pecking Frenzy: A rapid succession of pecks targeting hunters at close range.
    • Fireball Spit: It launches fireballs that can inflict Fireblight upon contact.
    • Tail Whip: A sweeping attack targeting those behind or beside it.
    • Charge Attack: A headlong rush that can be unpredictable but leaves it vulnerable if it stumbles.
  • Countermeasures:
    • Mobility: Maintain constant movement to evade its attacks, especially the fireballs.
    • Exploiting Weaknesses: Focus attacks on its head and tail, as these are its primary weak points.
    • Utilizing Items: Sonic Pods can disorient the Yian Kut-Ku, providing windows of opportunity for attacks or setting traps.

The Capture Process

Capturing Yian Kut-Ku involves a precise sequence:

  1. Weaken the Monster: Engage in combat to reduce its health. Signs of fatigue, such as limping or retreating to its nest, indicate it’s nearing capture readiness.
  2. Set the Trap: Once weakened, place a Shock Trap or Pitfall Trap in its path. Luring it into the trap will immobilize it temporarily.
  3. Sedate with Tranq Bombs: While the Yian Kut-Ku is trapped, quickly throw two Tranq Bombs to induce sleep, completing the capture.

Post-Capture Rewards

Successfully capturing Yian Kut-Ku yields valuable materials:

  • Yian Kut-Ku Certificate S: Proof of your successful capture, often used in crafting specialized gear.
  • Materials: Items such as Kut-Ku Carapace, Kut-Ku Ear, Kut-Ku Scale+, Kut-Ku Wing, Giant Beak, Inferno Sac, and Bird Wyvern Gem are obtainable. These materials are essential for crafting and upgrading weapons and armor.

Additional Tips for Hunters

  • Fireblight Management: If afflicted by Fireblight from its fireball attacks, roll repeatedly to extinguish the flames or consume a Nulberry for immediate relief.
  • Handling Multiple Yian Kut-Kus: In scenarios where multiple Yian Kut-Kus are present, use Dung Pods to disperse them, ensuring a one-on-one confrontation.
  • Staying Alert: Despite its relatively predictable attack patterns, complacency can lead to mistakes. Always remain vigilant and adapt to its behaviors.

Capturing Yian Kut-Ku is a testament to a hunter’s skill and preparation. By understanding its habits, exploiting its weaknesses, and employing effective strategies, you can add this formidable Bird Wyvern to your list of successful captures. Each hunt not only enhances your prowess but also enriches your journey in the vast world of Monster Hunter Wilds.
 

How to Get Wingdrake Hide in Monster Hunter Wilds

March 12, 2025March 12, 2025 Olivia Craig

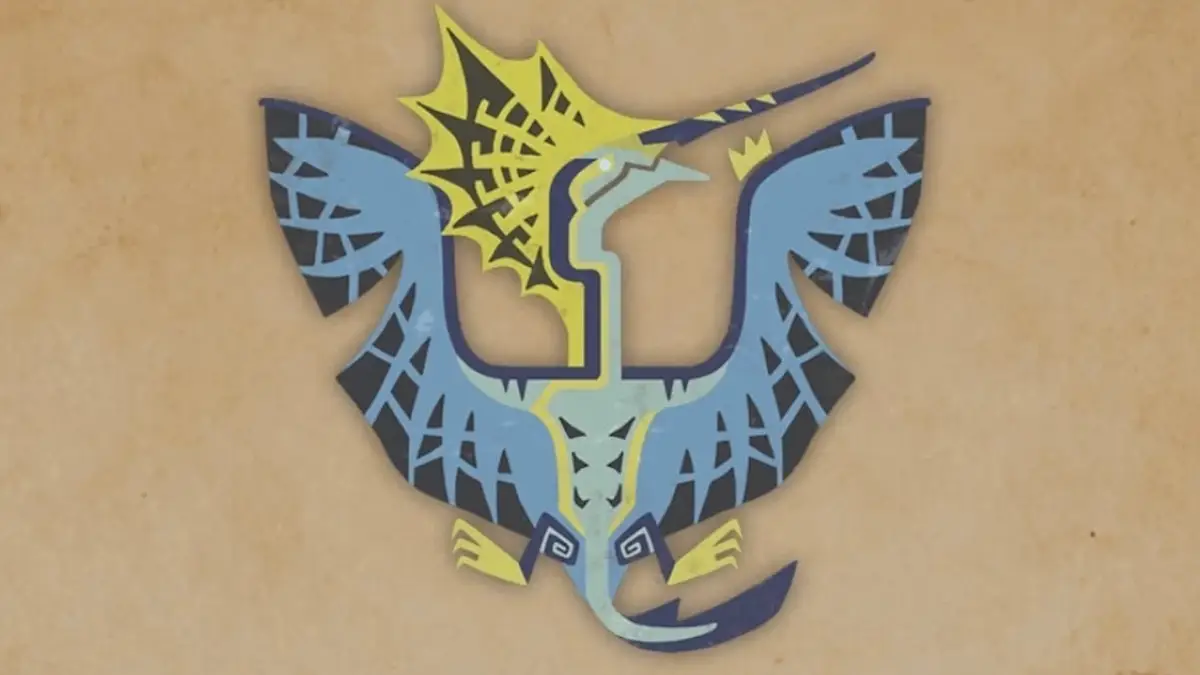
In the expansive world of Monster Hunter Wilds, hunters constantly seek materials to enhance their gear and face formidable creatures. One such valuable resource is the Wingdrake Hide. This lightweight material is essential for crafting and upgrading various equipment pieces, making it a sought-after item for both novice and seasoned hunters. This guide delves into the methods of obtaining Wingdrake Hide, its applications, and tips to efficiently farm it.

Credits – Eurogamer

Wingdrake Hide is a material carved from wingdrakes, small flying creatures that inhabit various regions in Monster Hunter Wilds. Its lightweight nature makes it ideal for crafting armor and other equipment, providing hunters with both protection and mobility. As hunters progress to higher ranks, they can also acquire Wingdrake Hide+, a rarer variant used for advanced gear upgrades.

Sources of Wingdrake Hide

To obtain Wingdrake Hide, hunters need to target specific small monsters known as wingdrakes. The primary sources are:

  • Baunos: These creatures are commonly found in regions like the Windward Plains. When hunted and carved at Low Rank, Baunos have a 100% chance of yielding Wingdrake Hide.
  • Harpios: Similar to Baunos, Harpios are prevalent in areas such as the Scarlet Forest and Oilwell Basin. At Low Rank, carving a Harpios guarantees a Wingdrake Hide.

It’s important to note that at High Rank, both Baunos and Harpios drop Wingdrake Hide+, the enhanced version of the material.

Effective Hunting Strategies

Hunting wingdrakes can be challenging due to their aerial nature. However, with the right approach, hunters can efficiently farm Wingdrake Hide:

  • Utilize the Slinger: Wingdrakes like Baunos and Harpios often fly in groups, making them difficult targets. By using the Slinger, hunters can shoot projectiles to knock these creatures out of the sky, making them easier to carve. Aim carefully and time your shots to bring them down swiftly.
  • Map Tracking: To locate wingdrakes efficiently, use the in-game map’s filter feature. By selecting “Small Monsters,” hunters can highlight the locations of Baunos and Harpios, allowing for targeted hunting sessions.
  • Camp Proximity: Setting up camps near known wingdrake habitats, such as the Windward Plains, can expedite farming. After clearing an area, resting at a nearby camp allows time for the creatures to respawn, facilitating continuous hunting.

Applications of Wingdrake Hide

Wingdrake Hide serves as a crucial component in various crafting and upgrading processes:

  • Armor Crafting: Hunters can forge specific armor pieces using Wingdrake Hide. For instance, the Rey Sandcoil requires one Wingdrake Hide.
  • Charm Upgrades: Charms like the Blast Charm I and Friendship Charm I necessitate Wingdrake Hide for their creation or enhancement. These charms provide hunters with additional abilities and buffs, enhancing their combat effectiveness.
  • Kinsect Upgrades: Insect Glaive users can upgrade their Kinsects, such as the Gullshad and Windchopper, using Wingdrake Hide. Upgraded Kinsects offer improved support in battles, collecting extracts, and dealing damage.

Farming Tips

To maximize efficiency when farming Wingdrake Hide:

  • Target Low Rank Quests: Focusing on Low Rank expeditions or quests in areas like the Windward Plains increases the chances of encountering Baunos and Harpios, ensuring a steady supply of Wingdrake Hide.
  • Monitor Respawn Rates: After clearing an area of wingdrakes, give it some time for the creatures to respawn. Utilizing camps for resting can speed up this process.
  • Equip Appropriate Gear: Using weapons or tools that can quickly bring down flying creatures will make the hunting process more efficient. The Slinger, in particular, is invaluable for this purpose.


How to Beat Gravios in Monster Hunter Wilds

March 12, 2025March 12, 2025 Olivia Craig

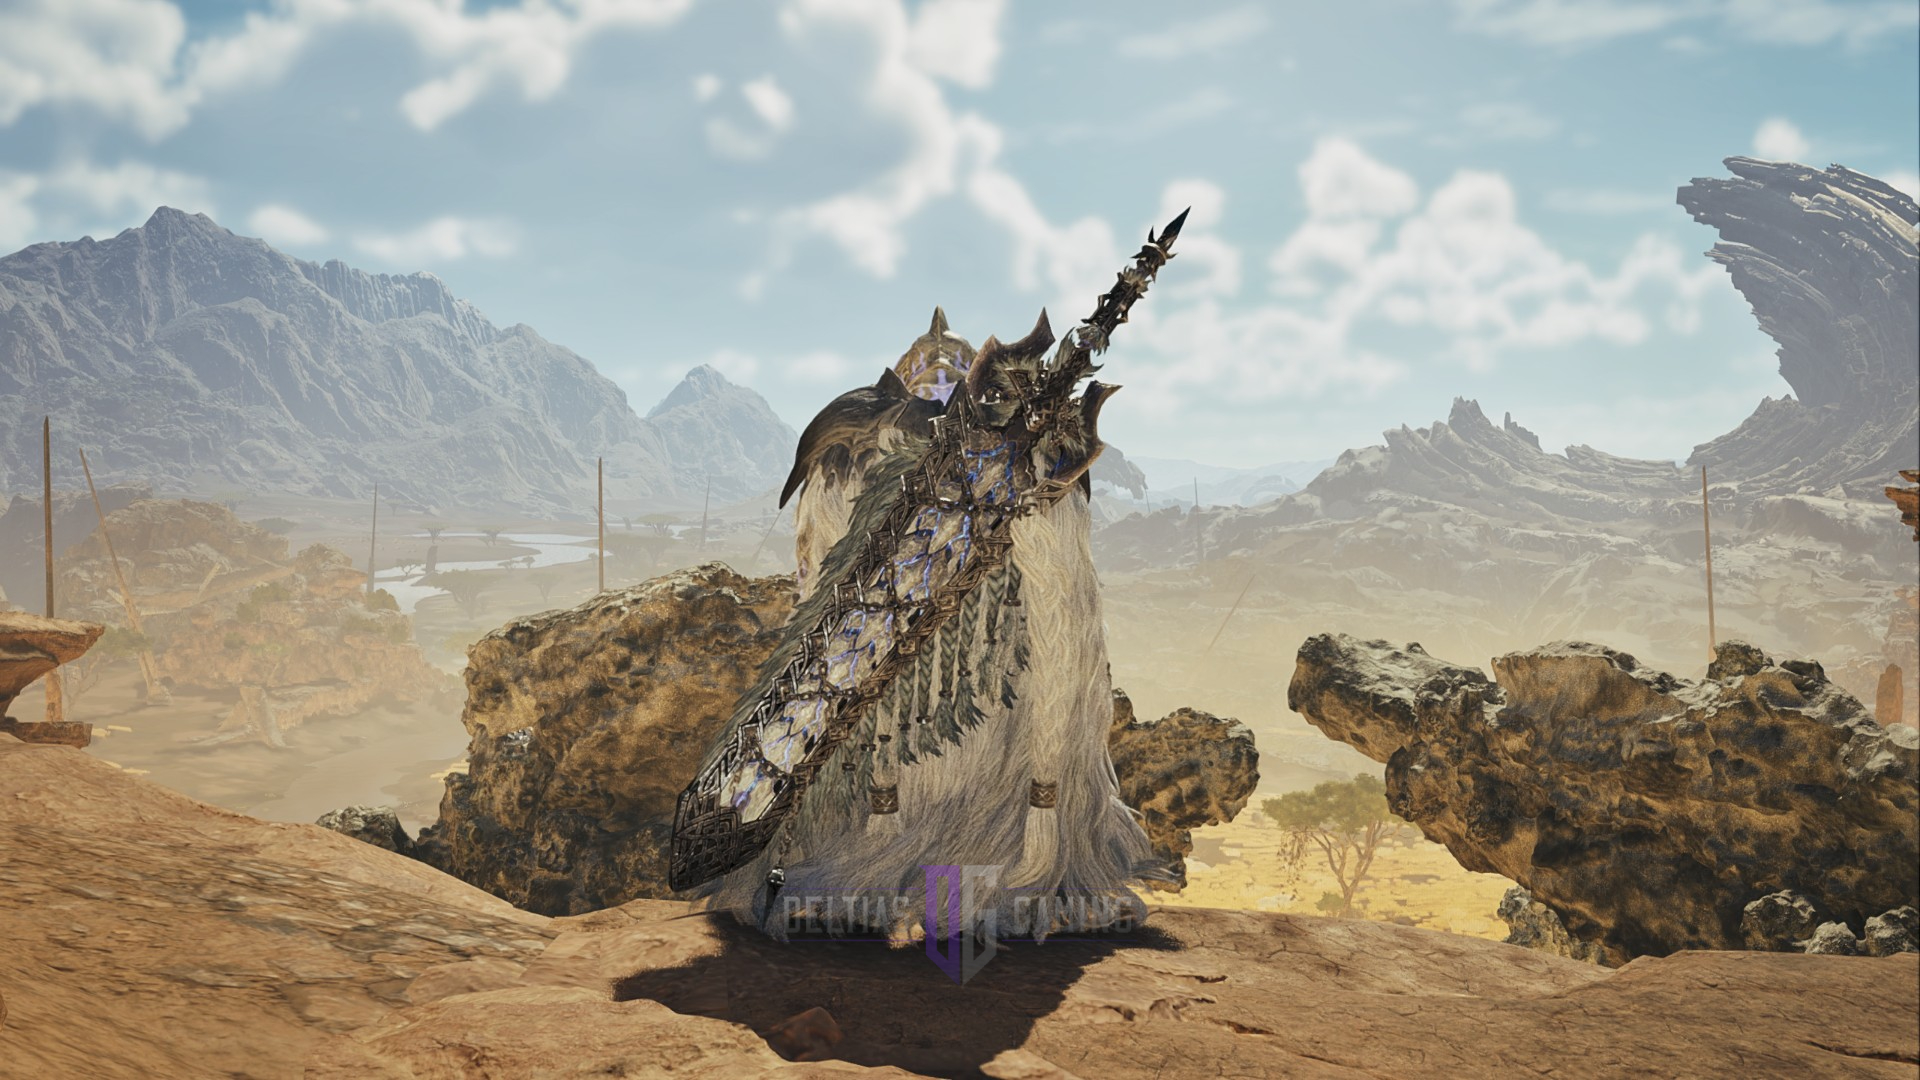
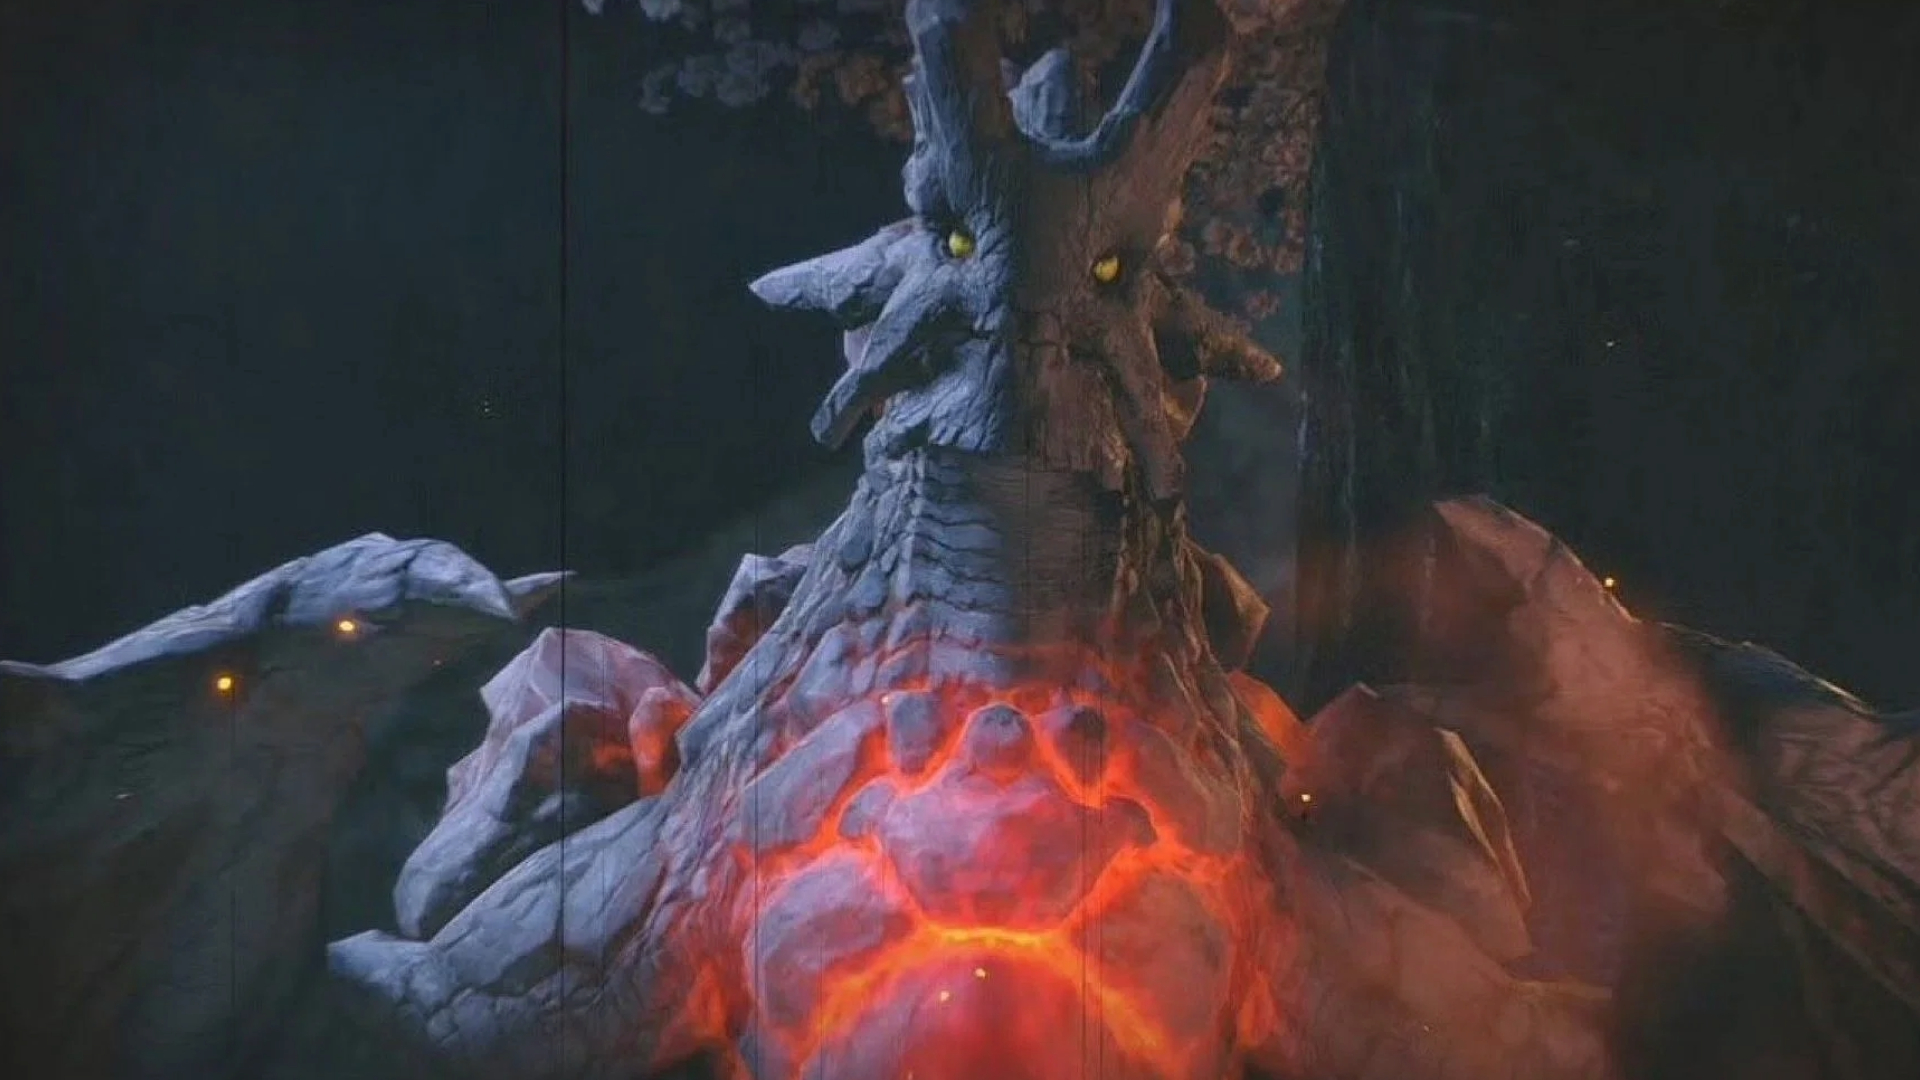
Gravios, a formidable Flying Wyvern, awaits hunters in the treacherous terrains of Monster Hunter Wilds. Recognized by its massive, rock-hard exterior and potent fire-based attacks, this beast poses a significant challenge. However, with the right knowledge and strategy, you can emerge victorious.

Credits – Deltia’sGaming

Gravios is predominantly found in the Oilwell Basin and the ancient ruins of Wyveria. Its anatomy boasts a dense, bony carapace that acts as a natural shield against many attacks. This armor not only provides physical protection but also allows Gravios to emit various gases and unleash devastating fire-based assaults. Its sheer size and defensive capabilities make it a daunting adversary.

Weaknesses and Vulnerabilities

To effectively combat Gravios, it’s crucial to target its weak points:

  • Belly: This is the most vulnerable area. Attacking the belly can lead to significant damage and potentially stagger the beast.
  • Head: While a viable target, the head is often challenging to reach due to Gravios’s height and constant movement.
  • Back: Breaking the back can expose softer tissues, making subsequent attacks more effective.

Conversely, certain parts of Gravios are more resistant:

  • Neck and Tail: These areas have heightened resistance, making them less ideal targets.
  • Wings and Legs: Although breakable, they require sustained attacks to inflict noticeable damage.

Elemental Affinities

Gravios exhibits specific elemental weaknesses and resistances:

  • Weaknesses:
    • Water: Highly effective against Gravios, water-based attacks can exploit its vulnerabilities.
    • Ice: Serves as a secondary weakness, offering a viable alternative to water attacks.
    • Dragon: Dragon-element weapons can also inflict considerable damage.
  • Resistances:
    • Fire: Given its affinity with fire, Gravios is entirely immune to fire-based attacks. Avoid using fire-element weapons or ammunition.

Recommended Equipment

Selecting the appropriate gear is paramount when facing Gravios:

  • Weapons:
    • Water-Based: Weapons imbued with water elements, such as the Aqua Slasher or Tsunami Bow, can maximize damage output.
    • Ice-Based: Frost Edge or Glacial Gunlance are excellent choices for exploiting Gravios’s ice weakness.
    • Dragon-Based: Dragonbone weapons or the Dragonseal series can effectively counter Gravios’s defenses.
  • Armor:
    • Fire Resistance: Equip armor sets that offer high fire resistance, such as the Ajarakan or Rathalos sets. These armors not only mitigate fire damage but also provide valuable skills to enhance survivability.

Combat Strategies

Engaging Gravios requires a blend of offense and defense:

  • Targeting the Belly: Focus attacks on the belly to exploit its primary weakness. This approach can lead to staggers and create openings for further assaults.
  • Weapon Sharpness: Gravios’s tough hide can cause weapons with lower sharpness to bounce off. Ensure your weapon maintains at least blue sharpness to penetrate its armor effectively. Bringing Whetfish Fin+ can expedite sharpening during the hunt.
  • Status Ailments: Gravios can inflict various status effects:
    • Fireblight: Causes continuous health depletion. Rolling multiple times or using a Nulberry can cure this ailment.
    • Poison: Gradually drains health. Carry Antidotes or Herbal Medicine to counteract poisoning.
    • Sleep: Induces sleep, leaving you vulnerable to attacks. Using an Energy Drink can prevent or cure sleep.
  • Movement Patterns: Gravios employs several attacks:
    • Fire Beam: A linear fire attack that can sweep across the battlefield. Dodge to the sides to avoid it.
    • Gas Release: Emits gases from its belly that can induce sleep or poison. When you notice gas leaking, distance yourself immediately.
    • Body Slam: Gravios may lift off the ground slightly and slam its body down, causing significant area damage. Evade backward to steer clear.
    • Tail Whip: A swift tail attack that can catch hunters off-guard. Maintain awareness of its tail position to anticipate this move.
  • Maintain Mobility: Given Gravios’s size and attack range, staying mobile is crucial. Utilize dodge rolls and sprints to reposition and avoid incoming attacks.


How to Beat Uth Duna in Monster Hunter Wilds

March 11, 2025March 11, 2025 Olivia Craig

In the expansive world of Monster Hunter Wilds, few challenges compare to facing Uth Duna, the apex predator of the Scarlet Forest. This formidable leviathan, with its water-based attacks and protective veil, demands strategic preparation and keen combat tactics. Whether you’re a seasoned hunter or new to the pursuit, understanding Uth Duna’s behaviors, weaknesses, and the environment is crucial for a successful hunt.

Credits – Eurogamer

Uth Duna is a massive creature that thrives in water-rich environments, predominantly appearing during downpours in the Scarlet Forest. Its body is adorned with a unique veil—a thin, fluttery membrane—that acts as a protective barrier, reducing the damage from hunters’ attacks. This veil does not cover its head or the tips of its legs, leaving these areas more susceptible to damage. The monster’s primary habitat is the Scarlet Forest, and it often appears during specific weather conditions, making timing a crucial factor in your hunt.

Weaknesses and Vulnerabilities

To effectively combat Uth Duna, it’s essential to exploit its weaknesses:

  • Elemental Weakness: Thunder-based attacks are particularly effective against Uth Duna. Conversely, it is highly resistant to water-based attacks, rendering them ineffective.
  • Weak Points: Focus your attacks on the following areas:
    • Head: A prime target for breaking, leading to significant damage and potential rewards.
    • Mouth: Another vulnerable spot that, when targeted, can disrupt some of its attacks.
    • Forelegs: These can be broken twice, each break weakening the monster’s mobility and attack strength.
    • Tail: While breakable, it is less vulnerable compared to the head and forelegs.

Recommended Equipment

Choosing the right gear can significantly influence the outcome of the hunt:

  • Weapons: Opt for bludgeoning or slashing weapons with thunder elemental attributes. Hammers and long swords are particularly effective due to their damage types and reach.
  • Armor: Equip armor sets that offer resistance to water-based attacks and enhance thunder attack power. Armor pieces that boost skills like Weakness Exploit or Partbreaker can provide an added advantage.

Preparation is Key

Before embarking on the hunt, ensure you’re well-prepared:

  • Items to Carry:
    • Nulberries: To counteract waterblight, a status ailment inflicted by Uth Duna’s attacks.
    • Health Potions and Mega Potions: To maintain health during prolonged engagements.
    • Shock Traps and Pitfall Traps: Useful for immobilizing Uth Duna temporarily, allowing for focused attacks on weak points.
    • Cool Drinks: If the battle leads to areas with extreme temperatures, these will help manage stamina and health.

Combat Strategies

Engaging Uth Duna requires a blend of offense and defense:

  • Target the Veil: Initially, Uth Duna’s veil reduces the damage it takes. Focus attacks on the veil to break it, increasing the damage Uth Duna receives. However, be cautious, as breaking the veil can make Uth Duna more aggressive.
  • Maintain Mobility: Uth Duna employs powerful slam and wave attacks that can knock hunters off balance. Constant movement and positioning to its side or rear can help evade these attacks.
  • Exploit Environmental Hazards: The Scarlet Forest contains environmental features that can be used to your advantage. For instance, crumbling ruins can be triggered to fall on Uth Duna, causing significant damage.
  • Monitor Its Behavior: Uth Duna may retreat to its nest or other areas when weakened. Chase it promptly to prevent it from recovering health or entering a more advantageous position.

Rewards and Materials

Defeating Uth Duna yields valuable materials essential for crafting and upgrading equipment:

  • Low Rank Materials:
    • Uth Duna Scale
    • Uth Duna Tentacle
    • Aqua Sac
    • Uth Duna Cilia
    • Uth Duna Claw
    • Uth Duna Certificate
    • Uth Duna Plate
    • Uth Duna Hide
  • High Rank Materials:
    • Uth Duna Scale +
    • Uth Duna Hide +
    • Torrent Sac
    • Uth Duna Plate
    • Uth Duna Watergem
    • Uth Duna Cilia +
    • Uth Duna Claw +
    • Uth Duna Tentacle +
    • Uth Duna Certificate S

These materials are instrumental in crafting armor and weapons with attributes advantageous for future hunts.


How to Switch to a Secondary Weapon in Monster Hunter Wilds

March 9, 2025March 9, 2025 Olivia Craig

Monster Hunter Wilds introduces a groundbreaking feature: the ability to carry and switch between two weapons during a hunt. This innovation offers hunters unprecedented flexibility, allowing them to adapt their combat strategies on the fly. However, mastering this mechanic requires understanding how to equip and effectively switch between your primary and secondary weapons.

Credits – Gamerant

Before you can switch weapons mid-hunt, you must first equip a secondary weapon. To do this, visit any Smithy in the game and speak with Gemma. Navigate to the ‘Equipment Menu’ and select ‘Change Equipment.’ Here, you’ll see slots for both your primary and secondary weapons. Choose your desired secondary weapon from your available arsenal. If you wish to expand your options, you can craft new weapons or upgrade existing ones at the Smithy.

Switching to Your Secondary Weapon During a Hunt

Once you’ve equipped a secondary weapon, switching between them during a hunt is straightforward but requires attention to detail:

  1. Mount Your Seikret: Your Seikret, a trusty mount introduced early in the game, carries your secondary weapon. To call and mount your Seikret, press the designated button—’Up’ on the D-Pad for controllers or ‘Tab’ on PC.
  2. Initiate the Weapon Swap: While mounted, press ‘Right’ on the D-Pad (for controllers) or the ‘X’ key (on PC) to switch to your secondary weapon.
  3. Dismount and Continue the Hunt: After the swap, dismount your Seikret and resume the battle with your new weapon.

It’s crucial to note that the weapon swap animation can be interrupted if you’re attacked during the process. Therefore, always ensure you’re in a safe spot before attempting to switch weapons.

Strategic Weapon Combinations

The ability to switch weapons mid-hunt opens up a plethora of strategic possibilities. Here are some recommended weapon combinations to enhance your hunting efficiency:

  • Melee Weapon + Heavy Bowgun: Pairing a close-range weapon like the Sword and Shield with the Heavy Bowgun allows you to adapt to both melee and ranged combat scenarios. The Heavy Bowgun offers powerful attacks and the ability to inflict status effects, providing utility beyond raw damage.
  • Dual Blades + Bow: This combination caters to hunters who value speed and versatility. The Dual Blades offer rapid, close-quarters attacks, while the Bow provides ranged options, allowing you to maintain pressure on monsters regardless of distance.
  • Hunting Horn + Great Sword: For those who prefer a more supportive role without sacrificing damage, this duo is ideal. The Hunting Horn can buff the team with various enhancements, and the Great Sword delivers massive damage during openings created by those buffs.
  • Insect Glaive + Dual Blades: If aerial combat and agility are your preferences, combining the Insect Glaive’s acrobatics with the swift strikes of the Dual Blades can keep you constantly on the move, dodging attacks and exploiting monster weaknesses.

Benefits of Switching Weapons Mid-Hunt

The primary advantage of carrying a secondary weapon is adaptability. Different monsters have varying weaknesses and behaviors, and being able to switch weapons allows you to tailor your approach accordingly. For instance, if a monster is particularly susceptible to blunt damage, switching to a Hammer or Hunting Horn can expedite part breaks and stuns.

Moreover, some monsters change their elemental weaknesses during a fight. Having weapons with different elemental attributes enables you to maximize damage throughout the encounter. Additionally, certain weapons are better suited for severing specific monster parts, such as tails or horns, which are essential for crafting particular gear.

Tips for Effective Weapon Switching

  • Preparation is Key: Before embarking on a hunt, familiarize yourself with the monster’s weaknesses and behaviors. Equip secondary weapons that exploit these vulnerabilities.
  • Practice Makes Perfect: Each weapon in Monster Hunter Wilds has a unique playstyle. Spend time in training areas to master both your primary and secondary weapons, ensuring seamless transitions during actual hunts.
  • Monitor Your Surroundings: Always be aware of your environment when attempting to switch weapons. Find safe zones or create openings by stunning or distracting the monster before making the swap.
  • Manage Resources: Some weapons consume specific resources, like coatings for Bows or ammo for Bowguns. Ensure you have adequate supplies for both weapons to avoid being caught unprepared.


How to Glide in Monster Hunter Wilds

March 8, 2025March 8, 2025 Olivia Craig

In the expansive world of Monster Hunter Wilds, mastering traversal techniques is as crucial as honing your combat skills. One such technique that enhances both exploration and tactical advantage is gliding. This maneuver allows hunters to traverse vast distances, reach otherwise inaccessible areas, and gain strategic positioning during hunts. This guide delves into the mechanics of gliding, its applications, and tips to seamlessly incorporate it into your hunting repertoire.

Credits – Reddit

Understanding the Glide Mechanic

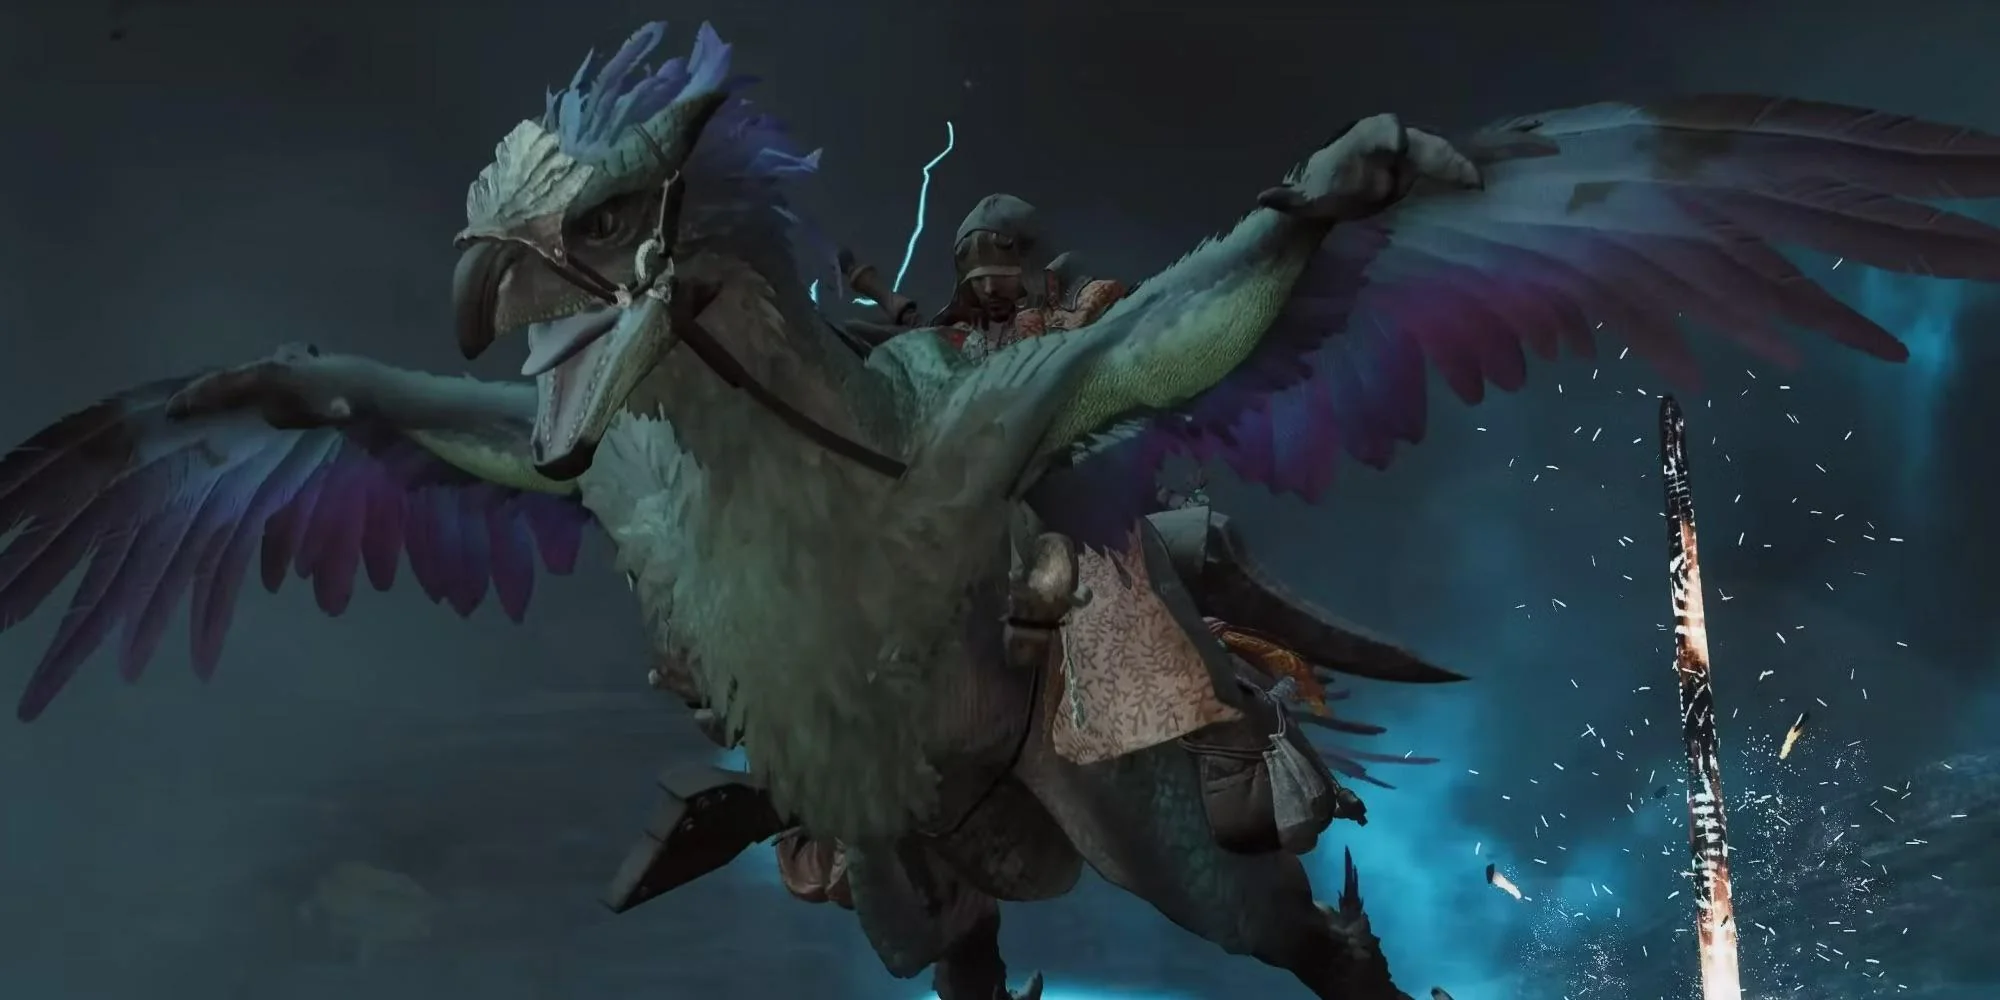
Gliding in Monster Hunter Wilds is primarily facilitated through the use of the Seikret, the game’s versatile mount. The Seikret not only serves as a means of transportation but also introduces dynamic movement capabilities, including gliding. To initiate a glide:

  1. Mount the Seikret: Ensure you’re riding your Seikret.
  2. Seek Elevated Terrain: Position yourself on a high ledge or cliff.
  3. Leap and Glide: As you jump from the elevation, hold the R2 (PlayStation) or RT (Xbox) button to engage glide mode. This action allows your Seikret to spread its wings and descend gracefully, covering substantial ground.

This mechanic not only adds a layer of immersion to exploration but also provides practical benefits during hunts.

Practical Applications of Gliding

Incorporating gliding into your hunting strategy offers several advantages:

  • Efficient Exploration: Gliding enables swift traversal across the map, allowing hunters to reach distant resources or quest objectives without the tedium of ground travel.
  • Strategic Positioning: During hunts, gliding can be used to reposition quickly, evade threats, or launch aerial attacks on unsuspecting monsters.
  • Resource Accessibility: Some rare materials or hidden locales are situated in hard-to-reach areas. Utilizing the glide mechanic can grant access to these coveted spots, enhancing your resource-gathering efficiency.

Mastering the Glide: Tips and Tricks

To fully harness the potential of gliding, consider the following tips:

  • Map Familiarity: Understanding the topography of each hunting ground is essential. Identify high points that can serve as launch pads for gliding to optimize travel routes.
  • Seikret Controls: Customize your Seikret’s control settings to suit your playstyle. Switching to manual controls can offer more responsive handling, making gliding and other maneuvers more intuitive.
  • Combine with Other Techniques: Gliding can be seamlessly integrated with other movement mechanics, such as the drift boost. Initiate a drift by holding the sprint button (R1/RB) and braking (R2/RT) simultaneously while steering. Releasing the brake provides a speed boost, which can be followed by a glide for extended aerial travel.

Safety Considerations

While gliding offers numerous benefits, it’s essential to be mindful of potential risks:

  • Landing Zones: Always survey your intended landing area before initiating a glide. Descending into a hostile environment or near aggressive monsters can lead to unintended confrontations.
  • Stamina Management: Ensure you have adequate stamina before attempting a glide, especially if planning to chain it with other maneuvers. Running out of stamina mid-air can result in uncontrolled descents.

Enhancing the Hunting Experience

The introduction of gliding in Monster Hunter Wilds exemplifies the game’s commitment to providing hunters with diverse tools for both combat and exploration. By mastering the glide mechanic, players can experience the game’s vast landscapes from a new perspective, uncover hidden secrets, and approach hunts with innovative strategies.

In conclusion, gliding is more than just a movement option; it’s a strategic asset that enriches the overall hunting experience. Embrace the skies, and let your Seikret guide you to new horizons in the untamed world of Monster Hunter Wilds.


How to Capture Yian Kut-Kun in Monster Hunter Wilds

March 8, 2025March 8, 2025 Olivia Craig

In the expansive world of Monster Hunter Wilds, the Yian Kut-Ku stands out as a memorable adversary. This Bird Wyvern, with its distinctive fan-like ears and fiery demeanor, offers both challenges and rewards to hunters. Capturing this creature requires a blend of preparation, strategy, and understanding of its behaviors.

Credits – Reddit

Understanding Yian Kut-Ku

Yian Kut-Ku is a Bird Wyvern known for its vibrant colors and aggressive nature. Its most notable features are its large, fan-like ears that flare when threatened, and a beak capable of delivering swift pecks. As a Fire-type monster, it can unleash fireballs, making it a formidable opponent for unprepared hunters.

Preparation: Gearing Up for the Hunt

Before setting out to capture Yian Kut-Ku, it’s essential to equip yourself appropriately:

  • Weapon Choice: Given its vulnerability to Water, weapons imbued with Water elemental attacks are highly effective. If unavailable, Ice and Thunder elements serve as suitable alternatives.
  • Armor Selection: Equip armor that offers resistance to fire-based attacks to mitigate potential damage from its fireballs.
  • Essential Items:
    • Traps: Carry at least one Shock Trap or Pitfall Trap. These are crucial for immobilizing the monster during the capture process.
    • Tranq Bombs: A minimum of two Tranq Bombs is necessary to sedate the Yian Kut-Ku once trapped.
    • Healing Supplies: Stock up on Mega Potions and Energy Drinks to maintain health and stamina during the hunt.
    • Status Ailment Remedies: Nulberries can counteract Fireblight if you’re hit by its fire-based attacks.

Locating Yian Kut-Ku

Yian Kut-Ku predominantly roams the Scarlet Forest and Cliffs regions. During the “New Ecosystems” main quest, hunters are introduced to this creature as part of the storyline. It’s advisable to consult with in-game characters, such as Alma, who provide insights into its whereabouts.

Engaging the Beast: Combat Strategies

Approaching Yian Kut-Ku requires a balance of offense and defense:

  • Attack Patterns: The Yian Kut-Ku exhibits several attacks:
    • Pecking Frenzy: A rapid succession of pecks targeting hunters at close range.
    • Fireball Spit: It launches fireballs that can inflict Fireblight upon contact.
    • Tail Whip: A sweeping attack targeting those behind or beside it.
    • Charge Attack: A headlong rush that can be unpredictable but leaves it vulnerable if it stumbles.
  • Countermeasures:
    • Mobility: Maintain constant movement to evade its attacks, especially the fireballs.
    • Exploiting Weaknesses: Focus attacks on its head and tail, as these are its primary weak points.
    • Utilizing Items: Sonic Pods can disorient the Yian Kut-Ku, providing windows of opportunity for attacks or setting traps.

The Capture Process

Capturing Yian Kut-Ku involves a precise sequence:

  1. Weaken the Monster: Engage in combat to reduce its health. Signs of fatigue, such as limping or retreating to its nest, indicate it’s nearing capture readiness.
  2. Set the Trap: Once weakened, place a Shock Trap or Pitfall Trap in its path. Luring it into the trap will immobilize it temporarily.
  3. Sedate with Tranq Bombs: While the Yian Kut-Ku is trapped, quickly throw two Tranq Bombs to induce sleep, completing the capture.

Post-Capture Rewards

Successfully capturing Yian Kut-Ku yields valuable materials:

  • Yian Kut-Ku Certificate S: Proof of your successful capture, often used in crafting specialized gear.
  • Materials: Items such as Kut-Ku Carapace, Kut-Ku Ear, Kut-Ku Scale+, Kut-Ku Wing, Giant Beak, Inferno Sac, and Bird Wyvern Gem are obtainable. These materials are essential for crafting and upgrading weapons and armor.

Additional Tips for Hunters

  • Fireblight Management: If afflicted by Fireblight from its fireball attacks, roll repeatedly to extinguish the flames or consume a Nulberry for immediate relief.
  • Handling Multiple Yian Kut-Kus: In scenarios where multiple Yian Kut-Kus are present, use Dung Pods to disperse them, ensuring a one-on-one confrontation.
  • Staying Alert: Despite its relatively predictable attack patterns, complacency can lead to mistakes. Always remain vigilant and adapt to its behaviors.

Capturing Yian Kut-Ku is a testament to a hunter’s skill and preparation. By understanding its habits, exploiting its weaknesses, and employing effective strategies, you can add this formidable Bird Wyvern to your list of successful captures. Each hunt not only enhances your prowess but also enriches your journey in the vast world of Monster Hunter Wilds.
 

How to Join Friends in Monster Hunter Wilds

March 7, 2025March 7, 2025 Olivia Craig

Embarking on a hunting adventure is always more thrilling with friends by your side. In Monster Hunter Wilds, the multiplayer system offers various ways to team up, ensuring you and your companions can tackle formidable beasts together. Here’s a comprehensive guide on how to join friends in the game.

Credits – Gamerant
  1. Understanding the Multiplayer Options

Monster Hunter Wilds provides several multiplayer features designed to enhance cooperative gameplay:

  • Link Party: This feature allows up to four players to form a group, enabling them to undertake multiple quests together. While in a Link Party, members have dedicated voice and text chat, and after completing a quest, they remain grouped for subsequent missions. However, outside of quests, players reside in separate lobbies, meaning they won’t see each other in the game’s open world.
  • Environment Link: For those who wish to explore the game world alongside friends outside of structured quests, Environment Link is the ideal choice. This feature lets players share the same world, allowing for joint exploration and activities. It’s important to note that certain pivotal story moments might temporarily disable this feature.
  • SOS Flares: If you or another player requires assistance on a specific hunt, SOS Flares come into play. By sending out an SOS Flare, you can invite other hunters to join your quest, facilitating spontaneous cooperative play without the need for pre-arranged groups.
  1. Forming a Link Party

To consistently hunt alongside friends, forming a Link Party is recommended:

  • Creating a Link Party:
    • Access the game’s main menu and navigate to the ‘Communication’ section.
    • Select ‘Member List’ and choose the friends you wish to invite.
    • Send out invitations to form a Link Party.
  • Benefits of a Link Party:
    • Dedicated voice and text chat channels.
    • Automatic invitations to new quests posted by any party member.
    • Persistent grouping, allowing for continuous play across multiple quests.

Remember, while in a Link Party, you’ll only encounter each other during quests. For shared open-world exploration, consider setting up an Environment Link.

  1. Setting Up an Environment Link

To roam the expansive landscapes of Monster Hunter Wilds together:

  • Initiating Environment Link:
    • The host player should access the ‘Communication’ menu.
    • Select ‘Environment Link’ and choose ‘Invite All to Environment Link.’
  1. Utilizing SOS Flares

For impromptu assistance or to aid others:

  • Sending an SOS Flare:
    • During a quest, open the in-game menu.
    • Select ‘SOS Flare’ to broadcast a request for help.
  • Responding to an SOS Flare:
    • From the main menu, navigate to ‘Join Quest.’
    • Look for active SOS Flares and select a quest to join.

This system is particularly useful for hunters seeking immediate assistance or wishing to support others in their endeavors.

  1. Creating and Joining Squads

For a more community-oriented experience, Squads function as in-game guilds:

  • Creating a Squad:
    • Visit the Squad Information Center located in the Windward Plains Base Camp.
    • Speak with the NPC in charge and select ‘Create New Squad.’
    • Customize your Squad’s settings, emblem, and name.
  • Joining a Squad:
    • Obtain the Squad’s unique ID from a current member.
    • At the Squad Information Center, choose ‘Join a New Squad’ and enter the ID.

Being part of a Squad offers benefits like persistent chat channels and the ability to create Squad-exclusive lobbies, fostering a tight-knit hunting community.

  1. Crossplay Considerations

Monster Hunter Wilds supports crossplay across platforms such as PlayStation 5, Windows PC, and Xbox Series X. This feature is typically enabled by default but can be adjusted:

  • Enabling/Disabling Crossplay:
    • From the game’s home menu (before loading your save), access ‘Options.’
    • Navigate to ‘Gameplay’ settings and toggle the crossplay feature as desired.

While crossplay allows for a broader multiplayer experience, it’s essential to note that Monster Hunter Wilds does not support cross-save or cross-buy. This means your progress and purchases are confined to the platform on which you started.

  1. Additional Tips for Seamless Multiplayer Experience
  • Hunter Friends: To streamline the process of joining games with specific individuals, consider adding them as Hunter Friends. This can be done through the ‘Member List’ in the ‘Communication’ menu by selecting a player and sending a friend request.
  • Private Lobbies: If you prefer an exclusive gaming session, create a Private Lobby:
    • On the game’s main menu, select ‘Create Lobby’ and set it to private.
    • Share the generated Lobby ID with your friends, allowing them to join directly.
  • Story Progression: Be aware that certain story missions require solo completion up to specific points before multiplayer becomes available. Ensure all party members have reached the necessary progression to avoid connectivity issues.

By familiarizing yourself with these multiplayer features, you can ensure a cohesive and enjoyable hunting experience with friends in Monster Hunter Wilds. Whether you’re tackling challenging beasts or exploring the vast environments, the game’s cooperative options cater to various playstyles and preferences.


How to Get Frenzy Shards in Monster Hunter Wilds

March 7, 2025March 7, 2025 Olivia Craig

In the expansive world of Monster Hunter Wilds, hunters are constantly seeking materials to enhance their gear and tackle formidable foes. One such valuable resource is the Frenzy Shard, essential for crafting specific weapons and armor sets. This guide delves into the intricacies of obtaining Frenzy Shards, understanding Frenzied Monsters, and effectively utilizing these shards to bolster your hunting arsenal.

Credits – DeltiasGaming

Understanding Frenzied Monsters

Frenzied Monsters are creatures infected by the Frenzy Virus, a condition that amplifies their aggression and strength. Introduced during High Rank quests, these monsters pose significant challenges due to their heightened abilities. The Frenzy Virus not only affects monsters but can also infect hunters, leading to increased damage intake if not managed properly. It’s crucial to recognize and adapt to the behaviors of Frenzied Monsters to effectively combat them.

How to Obtain Frenzy Shards

To acquire Frenzy Shards, hunters must engage and defeat Frenzied Monsters. These creatures become available during High Rank missions, marking a pivotal point in the game’s progression. Upon successfully hunting or capturing a Frenzied Monster, there’s a chance to obtain Frenzy Shards as part of the quest rewards. It’s important to note that while Gore Magala is the progenitor of the Frenzy Virus, defeating it yields Frenzy Crystals, not Frenzy Shards.

Strategies for Hunting Frenzied Monsters

  1. Preparation is Key: Before embarking on a hunt, ensure your gear is upgraded and suitable for the target monster. Equip armor sets that offer resistance to the Frenzy Virus and weapons that exploit the monster’s elemental weaknesses.
  2. Monitor the Frenzy Gauge: When infected by the Frenzy Virus during combat, a purple gauge appears above your health bar. Continuous attacks on the monster can slow the gauge’s progression. If the gauge fills completely, you’ll suffer increased damage. Utilizing Nullberries can decelerate the gauge buildup, providing a strategic advantage.
  3. Study Monster Patterns: Frenzied Monsters exhibit more aggressive behaviors. Observing and learning their attack patterns can provide openings for counterattacks and minimize damage taken.

Utilizing Frenzy Shards

Frenzy Shards are integral in crafting and upgrading a variety of weapons and armor sets. At the Base Camp, hunters can consult with the blacksmith to forge new gear or enhance existing equipment using these shards. Notable items that require Frenzy Shards include:

  • Weapons:
    • Entbehrung I
    • Fledderklauen I
    • Tyrannearm I
    • Todlicher Abzug I
    • Leumundslist
    • Faulnisschleuder I
    • Eisenleib
    • Elendskraft I
    • Schattenstolz I
    • Wuchtblick I
    • Kummerklang I
    • Eiferschild I
    • Stahlfakt I
    • Sucher-Ankh I
  • Armor Sets:
    • Artian Mail
    • Artian Coil
    • Gore Coil
    • Damascus Helm
    • Gore Coil

Investing in these upgrades enhances your combat capabilities, allowing for more efficient hunts and progression through tougher challenges.

Managing the Frenzy Virus

During encounters with Frenzied Monsters, hunters risk contracting the Frenzy Virus. If the infection gauge fills completely, the hunter becomes fully infected, resulting in increased damage intake. To mitigate this:

  • Use Nullberries: Consuming a Nullberry slows down the infection gauge’s progression, granting more time to counteract the virus.
  • Maintain Offensive Pressure: Continuously attacking the Frenzied Monster can reduce the gauge buildup, preventing full infection.

Understanding and managing the Frenzy Virus is crucial for survival and success in hunts.


How to Make Layered Armor in Monster Hunter Wilds

March 6, 2025March 6, 2025 Olivia Craig

In the expansive world of Monster Hunter Wilds, hunters are often torn between functionality and fashion. The armor that offers the best protection might not always align with your aesthetic preferences. Fortunately, the game introduces a feature called layered armor, allowing players to maintain their desired appearance without compromising on stats. This guide will walk you through the process of unlocking and crafting layered armor, ensuring you can hunt in style.

Credits – Polygon

Layered armor serves as a cosmetic overlay in Monster Hunter Wilds. It lets you change the visual appearance of your hunter’s gear while retaining the attributes and skills of your equipped armor. Think of it as a transmog system, where you can mix and match looks without affecting performance.

Unlocking Layered Armor

To access layered armor, players must progress to High Rank quests. Here’s a step-by-step breakdown:

  1. Complete the Main Storyline: Begin by advancing through the game’s primary missions. This journey will introduce you to various monsters and terrains, culminating in a significant boss battle.
  2. Reach High Rank: After defeating the final boss in Low Rank, High Rank quests become available. These missions feature tougher monsters but offer better rewards, including materials necessary for advanced gear.
  3. Craft High Rank Armor: Once in High Rank, start crafting High Rank versions of armor sets. Each piece you craft automatically unlocks its layered armor counterpart. This means that by forging High Rank armor, you’re simultaneously adding to your layered armor collection.

Crafting Materials and Requirements

High Rank monsters drop specific materials essential for crafting both regular and layered armor. Engage in High Rank hunts to gather these resources. Additionally, some armor sets might require rare components, encouraging repeated hunts and mastery over particular monsters.

Equipping Layered Armor

Once you’ve unlocked layered armor pieces, here’s how to equip them:

  1. Visit Your Tent: At any base camp or the main hub, enter your personal tent.
  2. Access the Appearance Menu: Inside the tent, navigate to the “Equipment Appearance” section.
  3. Select Layered Armor: Here, you can choose which layered armor pieces to equip over your current gear. The interface allows for easy customization, letting you preview and select desired appearances.

Special Editions and Bonuses

Players who purchased the Deluxe or Premium Editions of Monster Hunter Wilds receive exclusive layered armor sets and cosmetics. These bonuses are available from the game’s outset, allowing for early customization without waiting to reach High Rank.

Benefits of Layered Armor

The primary advantage of layered armor is the freedom to personalize your hunter’s look without sacrificing functionality. This system ensures that you can tackle challenging hunts with optimal gear while showcasing your unique style.

Tips for Aspiring Fashion Hunters

  • Mix and Match: Experiment with different armor combinations to create a look that suits your preferences. The layered armor system supports diverse styles, from fierce warrior aesthetics to more whimsical appearances.
  • Stay Updated: The game periodically introduces new events and collaborations, offering additional layered armor sets. Participate in these events to expand your cosmetic options.
  • Manage Resources: While hunting for materials, focus on monsters that drop components for both functional and aesthetic armor sets. This approach maximizes efficiency and enriches your hunting experience.


Posts pagination

1 2 Older posts

Recent Posts

  • Purple Style Labs Secures $40M in Series E Funding to Fuel Global Expansion
  • Ford Infuses Fresh Capital into Struggling German Unit Amid Profitability Concerns
  • How to Beat River Styx in Hades
  • Spain Imposes Heavy Fines for Unlabeled AI Content
  • How to watch Nvidia GTC 2025, including CEO Jensen Huang’s keynote

Tags

aged domains seo backorder deleting domains buy and sell domains buy domain name godaddy buying domain names domain age domain delete list domain drop date calculator domain name auction domain name register domain purchase cheap domain redemption period calculator domain registration domain whois domcop dropped domains with traffic expired domain miner expired domain names godaddy expired domains list expired domains with backlinks expired domains with pagerank expiring domains flipping expired domain names free expired domains godaddy auctions godaddy backorder godaddy canada godaddy domain manager godaddy domain renewal godaddy expired domain godaddy expired domain process godaddy grace period godaddy login godaddy premium domains godaddy redemption fee waiver google domains huge domains justdropped.com review namejet namejet backorder old domain pending delete domain list register compass whois domain whois godaddy

https://gypowdr.com/slot-online/
https://gypowdr.com/casino-online/
https://gypowdr.com/sabung-ayam-online/

Theme by Colorlib Powered by WordPress